I researched various photography ideas and came to the conclusion a light box was the way to go, needing one big enough for cosmetic bags and larger and on a miniscule budget , and the need for it to fit nicely in my office, as is usual in the Martisanne household , we researched and decided to come up with our own version, the use of the Ikea table I have to say though was my lovely hubbys idea, whose sole mission in life is to make my life easier wherever possible.
The light box you will end up with following this tutorial will measure approximately 55cms x 55cms x 55cms, and if you follow the principal, you can really make one any size you need.
Firstly let me show you some examples below in the difference a light box will make, the rotary cutter light box photograph was taken at night curtains shut, only standard lighting in the room with a point and shoot digital camera , and just look how good it is.
And a proper daylight shot below , no editing and no additional light , just taken next to a window on a dreary rainy day.
You see how good a shot you can take without even trying.
For the light box you will need the following
1 x White (matt not gloss finish) Lack Ikea coffee table £5 in the UK 2014.
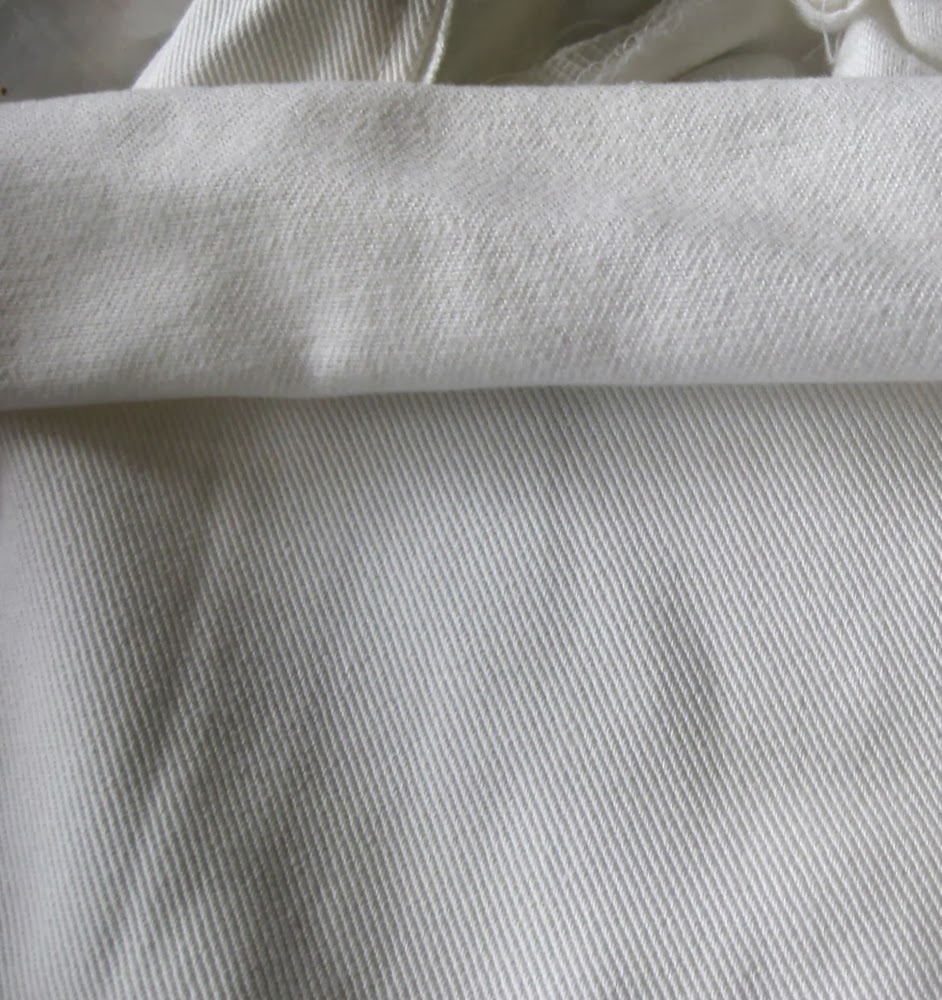
White fabric , not too thick test it to see if light will shine through, you want fabric that will let light through.
Lighting for your box 1 to 3 angle lamps or torches , you will need to experiment to see what works best.
Roll of Duct tape
1 sheet of white A1 size mounting card , mine was £2.99.
First grab your coffee table and ignore the assembly instructions.
Where the holes are on the underside of the table top drill through to the other side as below, repeat on all four corners.
 |
You will have four holes on the table top side but that is fine, it will be hidden
Screw the screw pegs in from the white side of the table opposite to what the instructions tell you, on all four corners of the table.
Screw the legs into all four corners of the table top.
You will end up with an upside down inside out coffee table.
Now get your fabric, you will need to spread a piece of fabric, leg to leg and tape it to the outside of the table top and leg as below, you want your fabric pulled tight and you want to cover two opposite leg spaces doing this.
And you will need to turn your table so that your table top is down flat and the space between all four of your table legs is where your roof will go, making sure you overlap the fabric with your two side pieces slightly to prevent gaps. I also as per the picture below created a fold in the fabric , which when attaching your fabric roof needs to be placed fold down , with the fold in the space between the legs , you can see a bit better in the next picture , the fold is at the front.
Roof attached to your light box and it is the right way up with the coffee table top down.
Next you need to place your A1 sheet of card carefully in your box trying not to crease it , push the short edge in first and place it in the slight fold you made in the roof fabric , to gently wedge it .
Next fold your card gently trying not to crease it, you don't want crease marks, by pushing it backward into the box, you want a gentle curve, so the card is flexed not folded and for the front end of your card to be resting against your table legs on the inside of the box at the front.
I had to cut a little square out of either side of mine probably about 1 1/2 inch x 1 1/2 inch to allow the card to sit around the table legs at the front, this will again wedge it in place.
And you have a finished light box, place your item inside your box on the card and you can use angle poise lamps above the roof and torches at the sides of the box to create lighting, use what you have available and experiment with your camera.
And the finished light box is also relatively light for moving around, and I intend to use it outside in daylight when it finally stops raining.
The photo below used only daylight and a point and shoot digital camera.
I hope you enjoyed reading this , and it has given you some ideas to build on


No comments:
Post a Comment